
There are few things more frustrating than hearing water drip inside your RV when you’re trying to relax. Most owners don’t notice a roof leak right away. It usually starts with a small stain near a vent, a soft spot in the ceiling, or a musty smell after a storm. By the time you notice those signs, water may have already been getting in for a while.
The good news is that many leaks can be fixed without taking the RV to a repair shop. If you’re willing to spend some time inspecting the roof and using the right materials, many problems can be handled as a DIY rv roof repair.
Why RV Roof Leaks Happen
Your roof is constantly exposed to sun, rain, wind, and temperature changes. As the roof heats up and cools down, seams and seals expand and contract. Over time, that movement can create small cracks or gaps.
Common trouble spots include:
- Roof vents
- Skylights
- Air conditioner openings
- Antennas
- Roof seams
- Ladder mounts
A good rv roof sealant helps protect these areas, but regular inspections are just as important.
Signs You May Have a Leak
Sometimes the warning signs are obvious. Other times, they’re easy to overlook.
Watch for:
- Water stains on the ceiling
- Discoloration around vents
- Soft or spongy roof areas
- Peeling wallpaper
- Musty odors after rain
- Cracks in old sealant
- Bubbling or aging roof material
If you notice any of these, don’t ignore them. A small leak is usually much easier to fix than a large one.
Step 1: Inspect the Roof
Before buying repair products, spend some time looking over the entire roof. Don’t focus only on the area where you see water inside. Water can travel a surprising distance before it shows up.
Walk the roof carefully and inspect every seam, vent, skylight, and attachment point. I usually look for tiny cracks, lifting sealants, or areas where the roof surface doesn’t look quite right. Those small details are often where leaks begin.
Step 2: Clean the Surface
This isn’t the exciting part, but it matters.Many diy repairs fail because the surface wasn’t cleaned properly. Dirt, dust, oxidation, and loose debris can prevent a coating from bonding correctly.
Before applying any rv roof coating, clean the roof thoroughly and let it dry completely. It takes a little extra time, but it can make a big difference in how long the repair lasts.
Step 3: Repair the Problem Areas
After cleaning, focus on the damaged spots first. Pay close attention to seams, cracks, and roof penetrations.The goal isn’t only to stop the current leak. It’s to reduce the chance of another leak starting later. Think of this step as preventive maintenance, not just a quick patch.
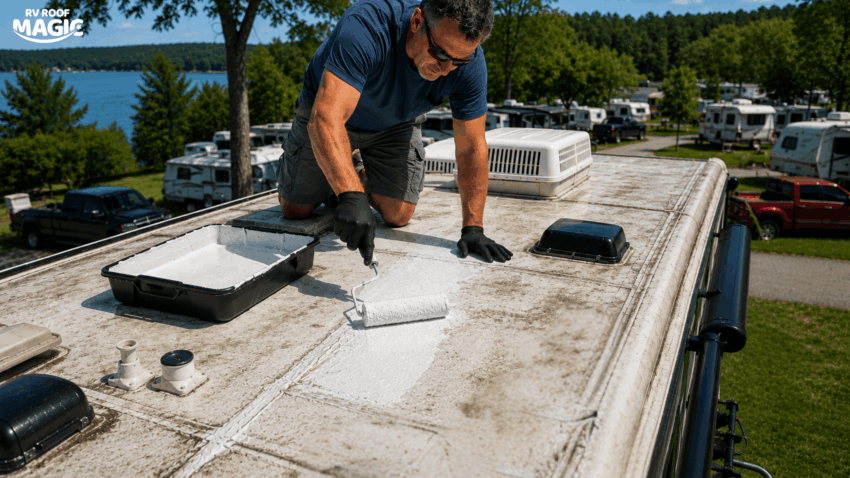
Step 4: Apply the Roof Coating
Once the problem areas are repaired, apply the roof coating according to the product instructions. Work in manageable sections and make sure seams and repaired areas receive good coverage.
One mistake I see fairly often is people trying to stretch the product too thin. Proper coverage is important for long-term protection against rain, sun, and standing water.
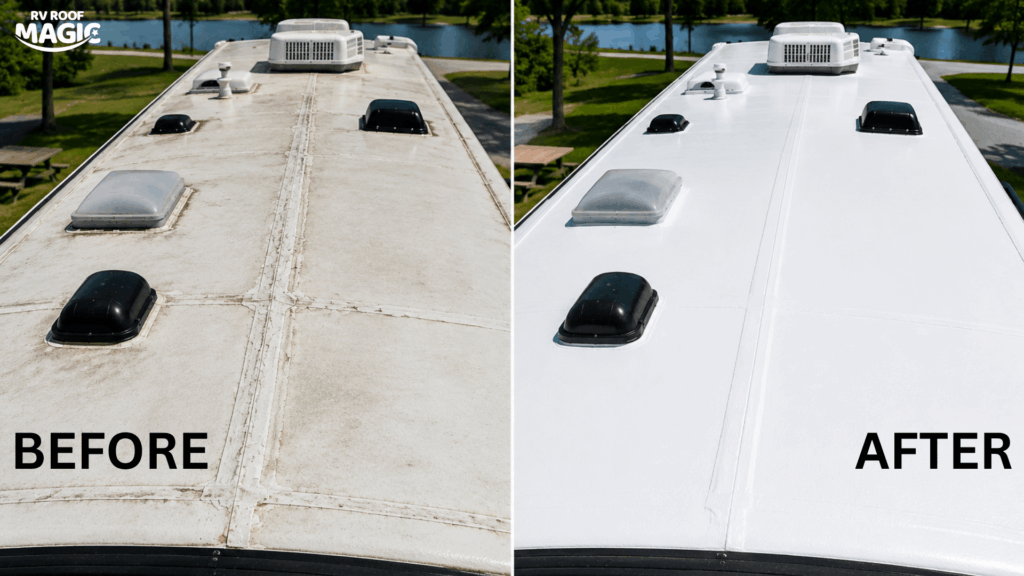
Final Thoughts
roof leaks are common, but they don’t have to become major headaches. With regular inspections, a high-quality rv roof sealant, and a durable RV roof coating, many RV owners can handle basic repairs themselves and keep their roofs protected for years.
The key is catching problems early. A small crack today is usually a much easier repair than a major water-damage project later.