
Picture this: You’re parked at a gorgeous campsite, the campfire is finally dying down, and you’re settling into bed. Then, you hear it – the dreaded drip, drip, drip right onto the kitchen table. Nothing ruins a road trip faster than water creeping into your rig.
Let’s be real. Nobody buys a motorhome or a travel trailer because they’re excited about spending hot Saturday afternoons up on a ladder dealing with rv roof maintenance. You bought your rig for freedom, adventure, and getting away from chores. But the hard truth is that the top of your RV takes an absolute beating. Every single day, it’s under assault from baking UV rays, freezing temperatures, pounding rain, and low – hanging tree branches.
When the inevitable wear and tear shows up, the knee-jerk reaction for a lot of folks is to run to the nearest big-box hardware store. They grab whatever standard house paint or cheap tube of silicone is sitting on the clearance shelf and slather it on. But if you’re tired of chasing the same annoying leaks every camping season, you need to rethink your strategy. Standard residential fixes just aren’t built for life on the highway. It’s time to look at a commercial-grade solution so you can enjoy your vacations.
Stop Settling for Quick Fixes: Upgrade to RV Roof Magic
To figure out the best way to handle your rv roof repair, we first need to look at why those cheap, off-the-shelf patch jobs fail so quickly. Think about it this way: regular household sealants and paints are designed for stationary buildings. Houses don’t move. Your RV, on the other hand, is basically a house experiencing a localised earthquake while hurtling down the interstate at 70 miles per hour. Your rig is constantly twisting, vibrating, flexing, and bouncing.
When you roll a standard water-based rv roof sealant or basic acrylic paint onto an RV, it cures by evaporation. It essentially leaves a dry, rigid shell sitting right on top of your existing roof. Because that layer is stiff, the violent vibrations from the road and the natural expansion and contraction from temperature swings will cause it to crack, peel, and flake right off.
Worse yet, those water-based paints are a nightmare if the weather turns on you. If the humidity is high, or if a surprise thunderstorm rolls through before the paint is totally dry, your hard work will literally wash down the sides of your rig and into the driveway. Talk about a waste of time and money.
The Game Changer: RV Roof Magic
If you want to stop patching and start protecting, you need something specifically formulated for the insane demands of a moving vehicle. This is where stepping up to a premium, solvent-based RV roof coating completely changes the game.
Unlike the cheap water-based stuff, rv roof magic uses a specialized solvent-based chemical cross-linking process. That might sound like science fiction, but the concept is pretty straightforward.
When you apply this formula, and it comes into contact with air, it triggers a chemical reaction. Instead of just drying into a hard shell on top of the old surface, the molecules link together. It chemically fuses with your existing roof substrate, essentially becoming one single, massive molecule.
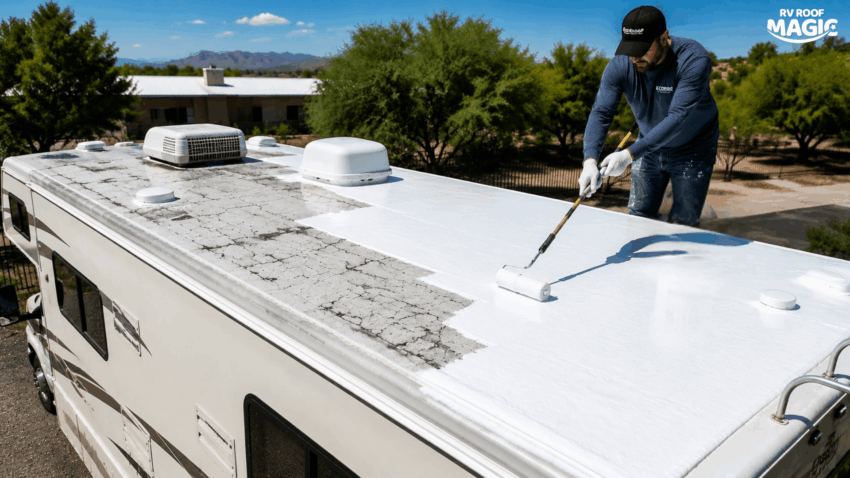
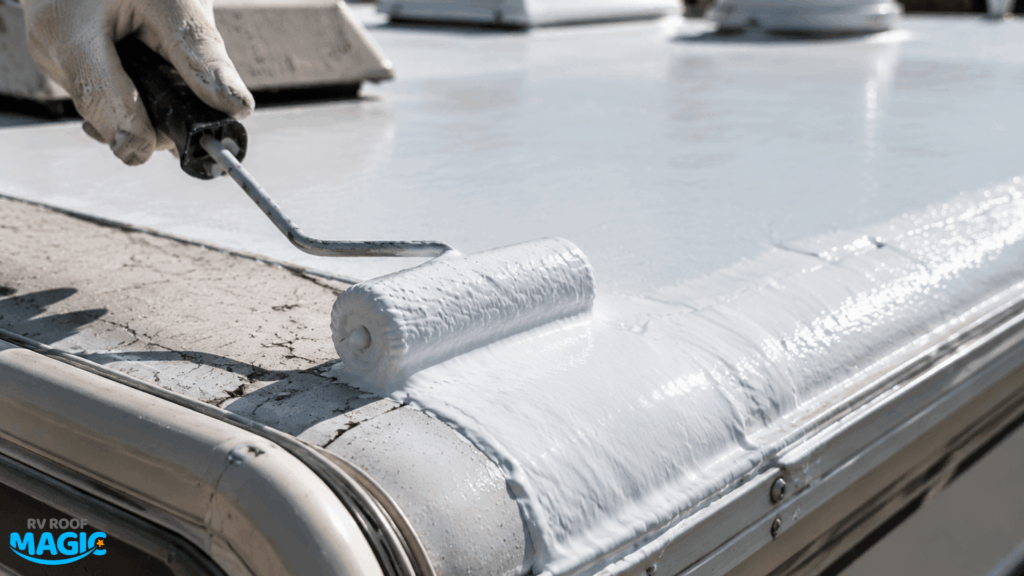
The result? A completely seamless, ultra – flexible liquid rubber membrane. When it’s fully cured, it genuinely looks and acts like someone stretched a brand-new, custom-fit rubber sheet over your entire rig. There are no exposed seams to fail, and no edges to catch the wind.
Real – World Benefits (Why This Actually Works)
We’ve spent over 25 years helping thousands of RV owners dodge the massive expense of a total roof replacement. When you rely on a solvent – based liquid rubber formula rather than cheap acrylics, you get some serious real – world perks:
- True One – Coat Coverage: I don’t know anyone who wants to spend their entire weekend applying a primer, waiting for it to dry, and then rolling on two or three top coats. With this system, no primer is required on compatible surfaces. You pop the lid, mix it, and roll on one single coat. You’re done.
- Beats the Rain: Weather is unpredictable. Because the formula is solvent-based, it skins over incredibly fast. It becomes entirely waterproof in just 3 to 4 hours. If a stray rain cloud rolls over after that window, your fresh coating is totally safe.
- Insane Flexibility: This stuff boasts up to 500% elongation. That means it stretches and snaps back like a heavy-duty rubber band. It easily absorbs the twisting and bouncing of a rough dirt road without tearing or cracking.
- No More Ugly White Streaks: Have you ever seen an older RV with chalky white streaks bleeding down the sidewalls? That’s what happens when cheap acrylic roofs break down under the sun. Our formula is UV- and ozone-resistant. It doesn’t chalk, which means your sidewalls stay clean.
- Cooler Summers: The bright, highly reflective white finish bounces intense solar heat away instead of absorbing it like a sponge. It makes a noticeable difference inside the cabin and gives your A/C unit a much-needed break during those brutal July camping trips.
- Built – in Mildewcide: It comes packed with agents that actively fight off mold spores and mildew, so your roof stays looking fresh.
Will It Work On My Rig?
One of the biggest headaches in rv maintenance is figuring out what material your roof is actually made of and whether a product will stick to it. The beauty of this system is its extreme versatility. It grabs onto almost everything used in the industry today.
It works beautifully on:
- EPDM (Rubber roofs)
- Fiberglass and older Vinyl
- Weathered Aluminum and Sheet Metal
- Butyl Rubber and Hypalon
- Older non-silicone coatings (like Decor, Kool Seal, or old acrylics).
- TPO
How to Do It Yourself (DIY)
You seriously don’t need to drop thousands of dollars at a dealership to get this done right. Grab a free Saturday, gather your supplies, and follow a simple game plan.
Step 1: Prep Like Crazy
I cannot stress this enough: prep work is everything. The best liquid rubber in the world won’t stick to a layer of dirt, tree sap, or grease. Don’t just hose it down, and definitely skip the standard dish soap – that stuff leaves an oily film behind. You need to use our Roof Protect Cleaner. It actively lifts the grime and neutralizes old oxidation so the new coating can chemically bond to the roof. Scrub it down, rinse it thoroughly, and let it dry completely.
Step 2: Tackle the Trouble Spots
Get up there and inspect every inch, paying close attention to the areas around your AC unit, skylights, plumbing vents, and front/rear caps. If you see deep cracks, massive gaps, or old caulking that is flaking away, fix those spots first. Use our Butyl MS Caulk or Seam Tight compound. By doing this first, your final liquid rubber coat will roll right over the repairs, encapsulating them entirely and hiding them from the sun.
Step 3: Mix It Up
Because this is a commercial-grade solvent product, the heavy solids sink to the bottom of the bucket during shipping. You absolutely must use an electric drill with a mixer attachment. Give it a solid 5 minutes of mixing until it’s a smooth, consistent texture.
Step 4: Map It Out and Roll
Here is a pro tip so you don’t run out of product: mentally divide your roof into 6-foot sections. A standard RV is about 8 feet wide, so a 6-foot block is roughly 48 square feet. Since one gallon covers about 50 square feet at the proper thickness, use one gallon per section. This ensures you’re laying it down thick enough (aiming for about 20 mils) to get the full 18-20 years of protection.
Use a high-quality 3/8-inch medium-nap roller for the big flat areas, and keep a regular polyester paintbrush handy for cutting in around the vents and edges. Whatever you do, do not use those cheap foam rollers. The heavy-duty solvents will literally melt a foam roller in your hands.