
Owning an RV isn’t just about getting from one place to another. It’s about road trips, last-minute plans, and having your own space wherever you go. But like anything you invest money in, it needs attention – especially when it comes to water damage.
Many RV owners don’t think about leaks until they actually see one. The problem is, by then, it’s usually not a small issue anymore. Water has a way of getting in quietly and spreading before you even realize it’s there.
That’s why understanding how water damage happens – and how to deal with it – is so important.
Why Water Damage Is a Serious Problem for RVs
Water damage isn’t always obvious at first. It doesn’t just drip from the ceiling and announce itself. Most of the time, it starts small – maybe a tiny crack or a weak seal – and slowly works its way inside.
Once it’s in, it can affect insulation, wood, wiring… basically, parts of your RV you don’t want to replace.
This is where using a proper rv roof sealant really makes a difference. It’s one of those small things that can save you from a much bigger headache later on.
Common Causes of RV Water Damage
If you know what usually causes leaks, you’re already ahead of most RV owners.
1. Roof Cracks and Seams
Your RV roof takes an absolute beating from the constant cycle of baking sun, heavy rain, and extreme temperature shifts out on the road. All that expansion and contraction eventually takes a toll, causing tiny cracks and weak spots to form across the surface slowly. These annoying issues almost always pop up first around your delicate seams and fixtures, so that is exactly where you should keep a close eye.
2. Worn – Out Sealant
It doesn’t matter what kind of caulk you use, because no sealant is going to last forever out in the elements. Over the years, the material naturally starts to dry out, shrink up, and completely lose its tight grip on your roof. Once that old bead pulls away, water barely needs any room at all to sneak right through and start a messy leak inside.
3. Poor Maintenance
It is incredibly easy to put off checking your roof because skipping a routine inspection never seems like a big deal until a sudden leak ruins your trip. What most people do not realize is that almost all cases of massive water damage actually start as a tiny, easy-to-fix problem. Because nobody bothered to get up there and catch that minor issue in time, it just quietly gets worse until you are stuck dealing with an expensive disaster.
4. Weather Exposure
Leaving your rig sitting out in harsh weather day after day will break down those roofing materials much faster than you probably expect. It is not just the heavy rain and snow either, because relentless UV rays from the sun actually do a shocking amount of hidden damage over time. Once that constant exposure totally bakes and weakens the surface, your roof becomes a super easy target for moisture to slip right through.
Signs Your RV Has Water Damage
Sometimes the signs are subtle. Other times, they’re hard to miss. Either way, it’s better to catch them early.
- Soft or spongy areas on the roof
- Discoloration or stains on ceilings
- A musty smell that won’t go away
- Bubbling or peeling surfaces
- Visible mold or mildew
If you notice even one of these, it’s worth checking things out. Waiting too long usually turns a simple rv roof repair into something much bigger.
How to Repair Water Damage in Your RV
Fixing water damage doesn’t always mean tearing everything apart. In many cases, you can handle it step by step.
Step 1: Find the Leak
Start your inspection by checking the most vulnerable spots, such as seams, roof edges, and around all your vents. Keep in mind that water loves to travel, meaning the actual hole might not be directly above the water stain you see inside. Take your time to thoroughly look for cracked sealant or hidden soft spots so you find the real entry point before applying any new coating.
Step 2: Clean the Area
Before you even think about applying a new coating, you have to make sure the entire surface is completely spotless. Even a small amount of leftover dirt, grease, or loose debris will ruin the adhesion and stop the product from actually sticking to your roof. Just scrub the area down thoroughly and let it dry completely so your sealant has a perfect foundation to grab onto.
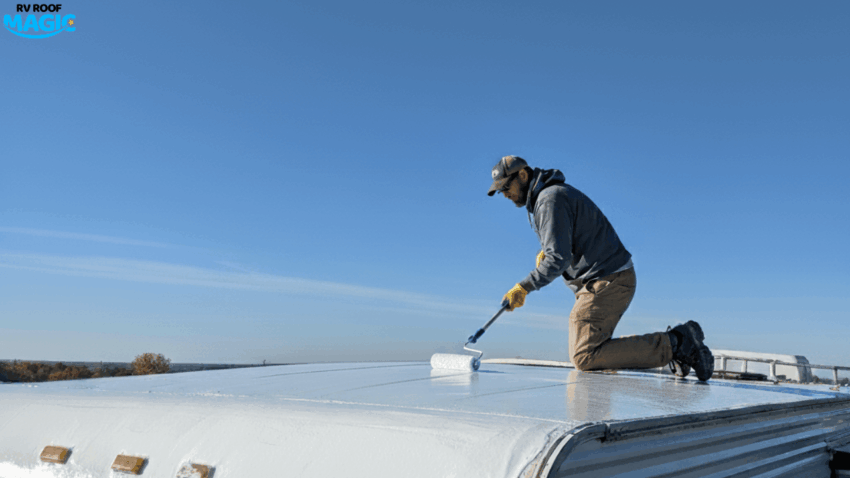
Step 3: Apply an RV Roof Sealant
Once the surface is ready, grabbing a dependable RV roof sealant is your best bet for securely closing up those annoying cracks and gaps. The real trick to a lasting repair is spreading the product in a smooth, even layer instead of just globbing it on. Take your time and avoid rushing through this step, as a careful application guarantees a tight, waterproof barrier that actually holds up.
Step 4: Add a Roof Coating
After you finish sealing the individual cracks, applying a solid RV roof coating gives your rig that crucial extra layer of defense. This durable barrier does a fantastic job of locking out moisture, so water cannot sneak back inside. On top of keeping things totally dry, it also protects against harsh UV rays to prevent the sun from wearing down your roof over time.
Step 5: Keep an Eye on It
After you finish your repairs, the worst thing you can do is just completely forget about your roof. Make it a habit to get up there and inspect the surface from time to time to catch any new issues early. It only takes a few minutes of your time, but doing these quick routine checks can easily save you from dealing with massive water damage down the road.
Why RV Roof Coating Is Essential
Many people think coatings are optional. In reality, they’re one of the best ways to avoid repeated repairs.
A quality RV roof coating helps by:
- Keeping water from getting in
- Reflecting heat and UV rays
- Slowing down overall wear
- Extending the life of your roof
It’s not just about fixing damage – it’s about not having to deal with it again anytime soon.
Preventing Water Damage Before It Starts
Dealing with water damage is an absolute nightmare, so stopping it before it even starts should always be your main priority. Just ask any seasoned RV owner, and they will quickly tell you that staying ahead of leaks is way less stressful than tearing out rotten wood later. Putting in a little preventive maintenance now easily saves you from expensive, exhausting repairs down the road.
Check Your Roof Regularly
You definitely don’t need to stress over doing a full-blown roof inspection every single week. However, just taking a few minutes to pop up there and give everything a quick visual check once in a while goes a really long way. Catching tiny cracks or worn-out sealant early on is the easiest way to keep small issues from turning into an expensive headache later.
Reapply Sealant When Needed
The smartest thing you can do for your rig is to stay ahead of the game and reapply your RV roof sealant before things actually start falling apart. Waiting until the old caulk dries out and fails guarantees you will eventually have a messy leak inside. Putting down a fresh layer while your roof is still in decent shape is a super-easy move that keeps the weather outside where it belongs.
Keep It Clean
You might not think much about a few leaves or twigs up there, but letting debris pile on your rig is just asking for trouble. All that dirt and junk acts like a giant sponge, trapping moisture right at the surface instead of letting it dry out naturally. Just taking a few minutes to sweep it off and keep the whole area clean makes a massive difference in how long your roof lasts.
Use Reliable Products
It is super tempting to grab whatever cheap option is on the store shelf, but not all materials are actually built to survive the harsh outdoor elements. If you want your fix to really last, investing in high-quality products specifically designed for rv roof repair is absolutely worth the effort. Making that smart choice right out of the gate makes a massive difference in how well your roof holds up after a few tough seasons on the road.
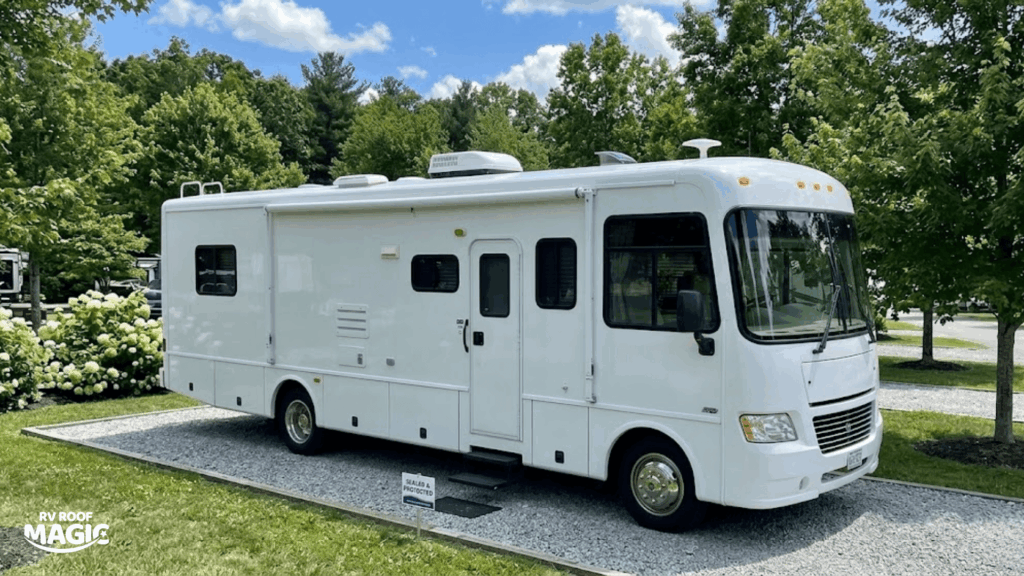
Long – Term Benefits of Proper RV Roof Maintenance
Taking care of your RV roof isn’t complicated, but it does require consistency.
When you stay on top of it, you:
- Avoid expensive repairs
- Keep your RV in better condition.
- Hold onto its resale value.
- Travel without constantly worrying about leaks
It’s really about peace of mind more than anything else.
Final Thoughts
Water damage is one of those problems that’s easy to ignore – until it isn’t. And by then, it’s usually more work (and money) than expected. Using the right RV roof sealant, adding a dependable rv roof coating, and staying on top of basic RV roof repair can make a big difference.
You don’t have to overcomplicate it. Just stay consistent, pay attention to small changes, and deal with issues early. At the end of the day, your RV is part of your lifestyle. Taking care of it means smoother trips, fewer surprises, and a lot less stress on the road.