Part of RV ownership is knowing how to care for your RV if problems arise. Knowing the basics of RV roof repair can help save you money by keeping you out of the repair shop for minor roof issues.
If you want to be prepared to repair common roof issues, keep reading.
Common RV Roof Repair Tips
You may need to make three common repairs as an RV owner: applying sealant, resealing joints, and patching holes or tears. The steps for these can differ based on your roof type, so it’s important to know the material yours is made of. Once you know that, you can learn to perform an RV roof repair.
Applying Sealant to Your Roof
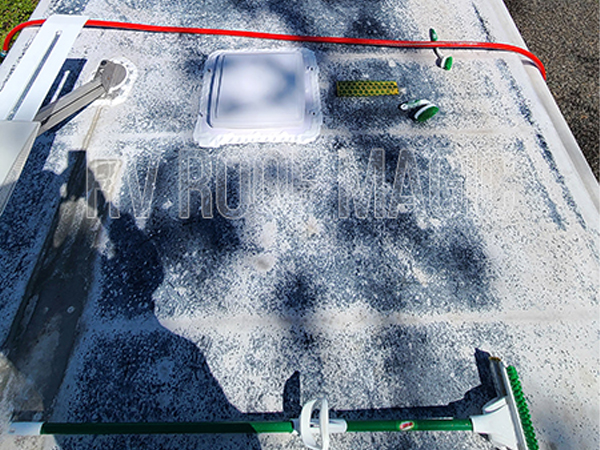
If your rubber roof is flaking or looks chalky, it probably needs a new coat of sealant. As your roof is exposed to the elements, the original protective coating can break down, which leaves your roof more likely to have leaks or UV damage.
Choose an RV roof sealant like RV Roof Magic for optimal coverage and protection. RV Roof Magic has a 10-year warranty, so you don’t have to worry about its ability to stand up to the elements.
First, clean your roof so any debris is gone, and the sealant can properly adhere to the roof. Once the roof is clean and dry, apply RV Roof Magic with a 3/8-inch nap roller. Don’t use a foam roller. Let the sealant dry for 24 hours before traveling but know it’s waterproof in as little as three hours.
A fiberglass roof can be resealed with RV Roof Magic, just like a rubber roof. The main difference is the prep of the surface. Before you clean the roof, scrape any loose, curled pieces of fiberglass coating off. Then, rub the roof with fine to medium-grit sandpaper. Clean and rinse the roof and allow it to dry completely. Then, apply the RV Roof Magic to the entire roof with a roller.
RV Roof Magic can also be applied to aluminum and other metal roofs. It is mildew-resistant and will form a rubber-like layer on top of the roof to provide rust protection. You can perform an adhesion test on your aluminum roof before applying the sealant if you’d like to see how the finished product will appear.
Resealing Joints
Another important part of RV roof repair is resealing joints. Fortunately, the steps for this are virtually the same for all roof materials when you use Butyl MS Caulk for the resealing.
First, clean the surface of any debris to ensure proper adhesion. This includes dirt, frost, grease, oils, and rust. Then, apply the caulk at a 45-degree angle, wiping away excess with a wet finger or damp cloth. The caulk will be cured in 24 hours and be fully cured in seven to 14 days.
Patching Holes or Tears
If you find a hole or tear in your RV roof, you’ll need to repair it with Poly Fabric, Seam Tight, and Seam Tape, depending on the type of tear. Seam tape can be applied by lining up the two adjoining areas that need to be sealed and placing the tape on them.
Poly fabric can be used to reinforce seams, cracks, and holes. You can put it onto wet Seam Tight, which will adhere and become one with the product. Then, you can apply RV Roof Magic over that area and the rest of the roof to ensure the seam never comes apart again.
Final Thoughts
RV roof repair can be intimidating if you don’t know where to start. Fortunately, the RV Roof Magic line of products makes it easy to repair virtually any RV roof to quickly get you back on the road.


