
If you’ve owned an RV for more than a season, you know the “ceiling stare.” It’s that moment you’re lying in bed during a rainstorm, looking up at the vents, and praying you don’t see a drip.
The reality is that an RV roof is a high-maintenance beast. It’s vibrating down the highway at 65 mph, baking in 100-degree sun, and getting smacked by low-hanging branches. Most factory roofs are designed to last only 5 to 7 years before they start to degrade. But if you’re smart about your RV sealant and maintenance, there’s no reason your roof shouldn’t last 20 years or more.
At RV Roof Magic, we’ve seen it all—from tiny pinholes that rotted out an entire side wall to “budget” fixes that peeled off in a week. Here is the straight talk on how to keep your rig bone-dry.
The “Silent Killer” of RVs: Why Inspections Matter
Water is the enemy. By the time you see a soft spot on your interior wall, the damage is already done. Wood rot and mold move fast in the cramped quarters of a motorhome.
You need to get up on a ladder at least four times a year. Don’t just glance at it; get on your knees and check the “stress points.”
- The Perimeter: Check where the roof meets the side walls.
- The Fixtures: AC units, skylights, and vents are notorious for leaking.
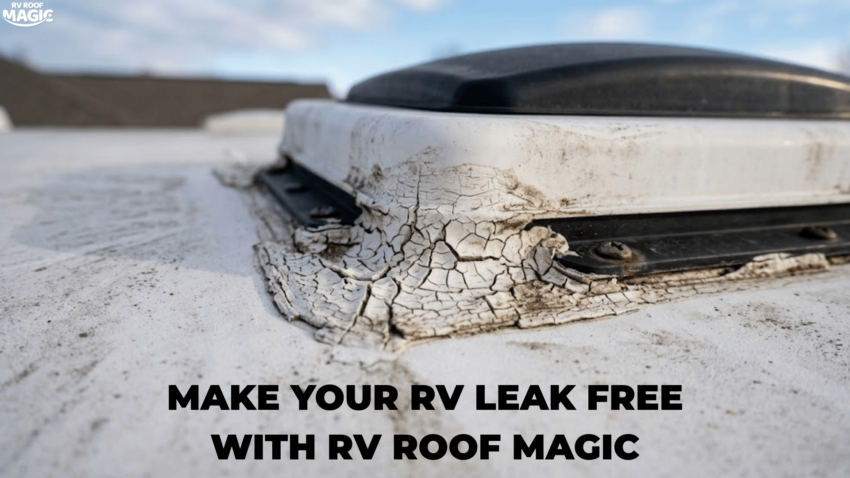
- The Seams: If you see “alligatoring” (tiny cracks that look like lizard skin), your current rv roof sealant is failing.
If you catch these cracks early, a quick touch-up can save you a $10,000 replacement bill down the road.
Why Most “Hardware Store” Coatings Fail
It’s tempting to grab a cheap bucket of white elastomeric paint from a big-box store. Don’t do it. Those are almost always water-based acrylics. They work fine for a stationary house, but an RV is a different animal.
An RV roof needs to flex. When you drive, the chassis twists. If your rv roof coating is stiff, it will crack. Furthermore, water-based coatings often require a separate primer and multiple coats. If it rains before the third coat is dry, your hard work literally washes down the driveway.
RV Roof Magic is a solvent-based liquid rubber. It’s a “one-and-done” system. Because it’s solvent-based, it triggers a chemical cross-link. It doesn’t just sit on top of your roof; it bonds to the old material, forming a single, seamless membrane.
Why Solvent-Based is King:
- Ponding Water: Standard coatings re-emulsify (turn back into a liquid) if water sits on them for too long. Our coating is waterproof 24/7.
- Thermal Shock: It withstands the extreme temperature swings of the desert without becoming brittle.
- No Primer Needed: You save time and money by skipping the prep-bond steps required by cheaper products.
The DIY Guide to Applying a New RV Roof Coating
You don’t need to be a professional contractor to reseal your roof, but you do need to be methodical. Here is the real-world process we recommend at RV Roof Magic.
Step 1: The Deep Clean
If you apply a new coat over chalky residue or dirt, it will peel. Use a stiff brush and a cleaner like “Roof Protect.” You want to get all that oxidation off until the surface feels firm. Let it dry completely – trapping moisture under a seal is a recipe for bubbles.
Step 2: Spot Repairs
Before you do the whole roof, look for the “problem children.” Large tears or gashes need to be addressed first. Using a high-quality RV sealant to reinforce these areas ensures that when you roll on the main coating, the foundation is solid.
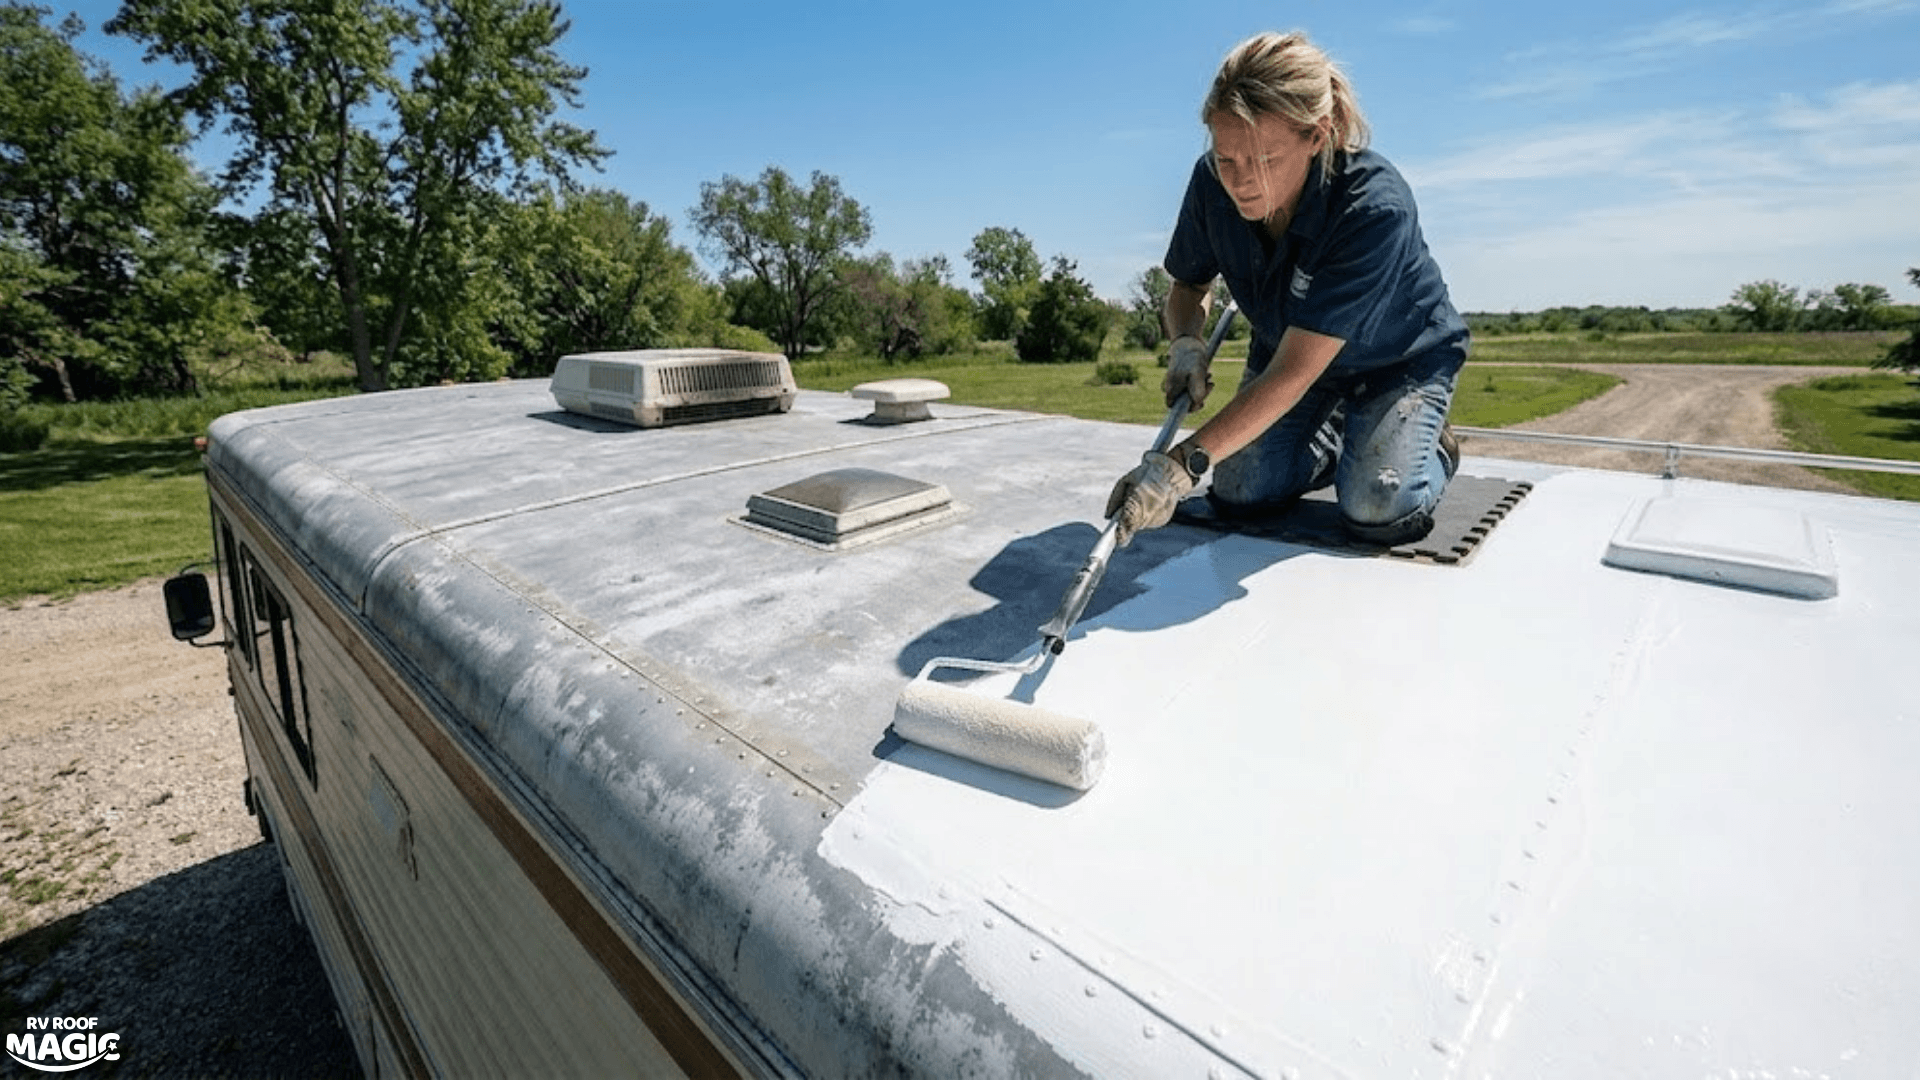
Step 3: The Application
This is the easy part. You don’t need fancy sprayers. A medium-nap roller and a corner brush are all you need. Since RV Roof Magic is a single-component product, there’s no mixing of hardeners. Just stir it up and start rolling.
Pro Tip: Try to avoid applying in the direct midday sun if it’s over 90°F. The product will “flash dry” too fast. Early morning or late afternoon is your sweet spot.
Compatibility: Don’t Melt Your Roof
One of the biggest mistakes DIYers make is putting the wrong chemistry on their roof. For example, applying certain solvents to TPO roofs can cause the adhesive beneath to swell.
We designed our RV roof coating to be the “universal” solution. It’s compatible with:
- EPDM (Rubber): It fuses directly to the membrane.
- Fiberglass: Adds a flexible layer to prevent gel-coat cracking.
- Metal: Stops rust in its tracks and cuts down on the “drum effect” during rain.
The only thing it doesn’t like is silicone. If someone previously “fixed” your roof with silicone caulk, you’ll need to remove it first, as nothing—not even our magic—will stick to silicone.
Keeping it Cool (Literally)
Maintenance isn’t just about stopping leaks; it’s about comfort. A black or dingy gray roof absorbs an incredible amount of heat. By applying a fresh, RV sealant, you can reflect up to 86% of solar heat.
We’ve had customers tell us their AC units finally stopped running 24/7 after switching to our white liquid rubber. It keeps the interior significantly cooler, which saves your battery and your sanity during a summer trip through the Southwest.
The Bottom Line: Invest Now or Pay Later
RVing is expensive enough without adding a total roof tear-off to the list. For a few hundred dollars and a Saturday afternoon, you can wrap your rig in a commercial-grade shield that’s backed by a 10-year warranty.
Stop messing around with “quick fix” tapes and cheap acrylics that flake off after one winter. Give your RV the protection it deserves so you can focus on the destination, not the weather report.