
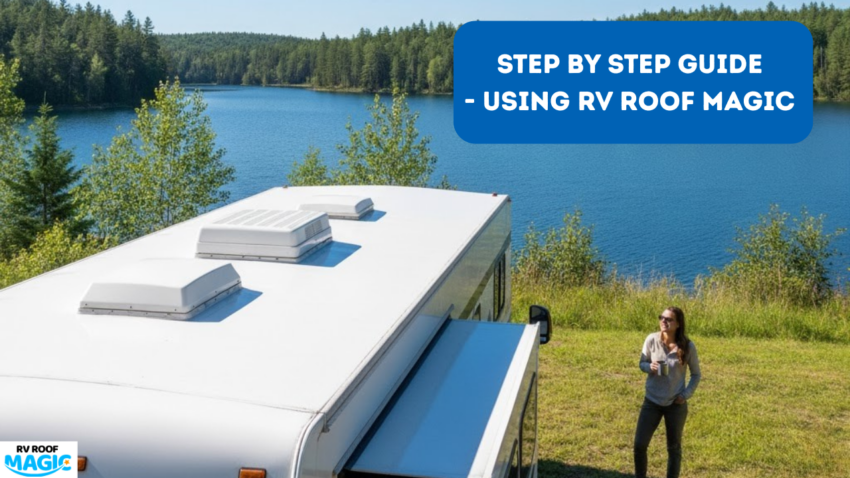
Owning an RV is a dream for many—waking up with a new view every day, road trips on your own schedule, and the freedom to explore. But there’s one part of RV life that can quickly turn into a headache if ignored: the roof. A motor home leak can ruin a trip and lead to expensive repairs if not handled properly. That’s why maintaining your RV roof is so important, and why products from RV Roof Magic have become a lifesaver for many first-time RV owners.
In this guide, I’ll walk you through how to use rv roof magic step by step. I’ll share tips, tricks, and little things I’ve learned along the way to make the process as stress-free and straightforward as possible.
Why You Should Care About Your RV Roof?
Think of your RV roof as the umbrella over your entire home on wheels. Every crack, tear, or small leak is an invitation for water damage, mold, and other headaches. Even a tiny issue can quickly snowball into a big problem.
That’s why taking care of your roof isn’t just about keeping your RV looking nice—it’s about protecting your investment. A good roof sealant for leaks can keep your RV dry and safe, season after season.
What You’ll Need?
Before you get started, gather a few things. It’ll save you from running around mid-project:
- RV Roof Magic (the main star of the show)
- Roofing caulk for minor cracks or seams
- Rubber roof patch for bigger holes or tears
- Putty knife or scraper
- Cleaning supplies (gentle soap and a soft brush work perfectly)
- Gloves and safety glasses
- Masking tape if you want clean edges
Having everything ready makes the project smoother and more enjoyable.
Step 1: Give Your Roof a Good Look
Before applying any product, walk around your RV and check the roof carefully. Look for:
- Cracks in the rubber or seams
- Holes, tears, or old patch areas
- Loose screws or fasteners
Take your time. A few minutes spent inspecting can save hours of headaches later.
Step 2: Clean Your Roof
Nothing sticks to dirt, dust, or old residue. Cleaning is an essential step before applying roof coatings:
- Remove leaves, sticks, and loose debris.
- Mix some gentle soap with water and scrub the roof gently with a soft brush.
- Rinse well and let it dry completely.
A clean surface ensures that the roof coatings will bond properly and last longer.
Step 3: Fix Any Damage
If you find cracks, holes, or damaged seams, take care of them first:
- Cracks: Smooth a bit of roofing caulk over them with a putty knife.
This step might feel a little tedious, but it makes a huge difference. A roof with pre-existing damage won’t get proper protection unless patched first.
Step 4: Prep for Application
Now comes the fun part. Before you pour the RV Roof Magic, make sure:
- The weather is dry and mild—extreme heat or rain can affect how the coating sets.
- Masking tape is applied around vents, skylights, or edges if you want clean lines.
- You stir the coating thoroughly so it’s smooth and ready to spread.
Preparation makes the actual application much easier.
Step 5: Apply RV Roof Magic
Here’s the simple way to get it done:
- Pour a small amount onto the roof.
- Use a brush or roller to spread it evenly, working from one section to the next.
- Pay attention to seams and areas where you patched.
- Let it dry as per the instructions on the bottle—usually a few hours.
For added protection, consider a second coat once the first one is fully dry. It creates a more substantial barrier against leaks, UV damage, and the elements.
Step 6: Let It Cure
Patience is key. Avoid walking on the roof or exposing it to water until the coating is fully cured. Depending on the temperature and humidity, this usually takes 24–48 hours.
Once cured, your roof will have a seamless, waterproof layer ready to tackle rain, sun, and wind.
Step 7: Keep Up With Regular Maintenance
Even after a perfect application, check your roof regularly:
- Sweep off debris every few months
- Inspect after storms for any new cracks or spots needing attention
- Touch up areas with roofing caulk.
A little regular maintenance goes a long way in keeping your RV roof healthy.
Why RV Roof Magic Works So Well?
Here’s why so many RV owners swear by it:
- Easy to Use: Even beginners can apply it without specialized tools.
- Durable Protection: Lasts for years when applied correctly.
- Versatile: Works on rubber, fiberglass, and even metal roofs.
- Effective Against Leaks: Seals cracks, seams, and previously patched areas reliably.
For first-time RV owners, this product simplifies roof care and helps avoid costly issues down the road.
Quick Tips for First-Timers
- Take your time—rushing can lead to mistakes.
- Work in small sections so the coating doesn’t dry before you spread it.
- Always clean and repair before coating—skip this and you’ll regret it later.
- Keep the roof free of debris; even small leaves can trap water and damage the coating over time.
Final Thoughts
Your RV roof doesn’t have to be a source of stress. With a bit of time, care, and RV Roof Magic, even a first-time RV owner can achieve a professional-level repair. Protecting your roof means protecting your home, your adventures, and your peace of mind.
For more tips, product info, and guides, check out rv roof magic, Your RV roof will thank you—and your trips will be worry-free!