
Imagine this: You are three days into your dream vacation. You’ve parked your rig by a serene lake, the campfire is crackling, and life is good. Then, the clouds roll in. A steady rain begins to fall, and within an hour, you hear it—the dreaded drip, drip, drip coming from your ceiling.
For many RV owners, this is the nightmare scenario. But the real nightmare often begins long before the first drop of water hits your interior. It starts with the decisions made during routine roof maintenance. We often see owners trying to cut corners with “bargain” sealants or rushing through the application process, only to face massive repair bills and water damage remediation down the road.
The truth is, most roof coating failures aren’t just bad luck; they are the result of avoidable errors. These mistakes don’t just cost you time—they bleed your wallet dry through wasted materials, repeated labor, and the potential need for a full roof replacement.
If you want to protect your investment and your travel budget, avoid these five critical mistakes that turn a simple maintenance job into a financial disaster.
Mistake #1: The Compatibility Trap (Choosing the Wrong Product)
One of the most frequent errors RV owners make is assuming that “roof coating” is a universal term. Walk into any big-box supply store, and you will see shelves packed with acrylics, generic elastomers, and silicones. The problem? Not every coating works on every roof material.
Many generic water-based elastomerics might stick temporarily, but they often fail to bond chemically with materials like EPDM or TPO. It is like trying to glue metal to glass; it might hold for a week, but the first bump in the road will shake it loose. When you use an incompatible motorhome roof sealant, you aren’t just wasting the money you spent on the product itself. You are setting yourself up for the labor-intensive nightmare of scraping that failed coating off before you can apply the right one.
If the chemical composition of the new coating reacts poorly with your existing membrane, you could even permanently damage the substrate, turning a repair job into a major construction project.
The Hidden Cost: Wasted product, hours of difficult removal labor, and the potential for a total roof tear-off.
Mistake #2: The “Quick Rinse” Prep
We get it—scrubbing a roof isn’t anyone’s idea of fun. However, treating the preparation phase as an afterthought is a guaranteed way to kill your ROI (Return on Investment). Your RV roof accumulates road grime, tree sap, oil, and severe oxidation over thousands of miles. A quick rinse with a garden hose doesn’t cut it.
If you apply a new coating over a dirty or oily surface, you are essentially painting the dirt, not the roof. The coating will never adhere to the substrate, leading to bubbling, peeling, and delamination within months. Proper preparation requires a specialized cleaner that emulsifies oil and grease. Using a product like Roof Protect, which is field-tested for compatibility, ensures you are applying your coating to a clean slate.
Without this deep clean, even the most expensive coating on the market will fail. You will find yourself back on the roof a few months later, peeling up sheets of non-adhered material and buying everything all over again.
The Hidden Cost: Paying for the entire project twice—new materials and new prep supplies—because the first application didn’t stick.
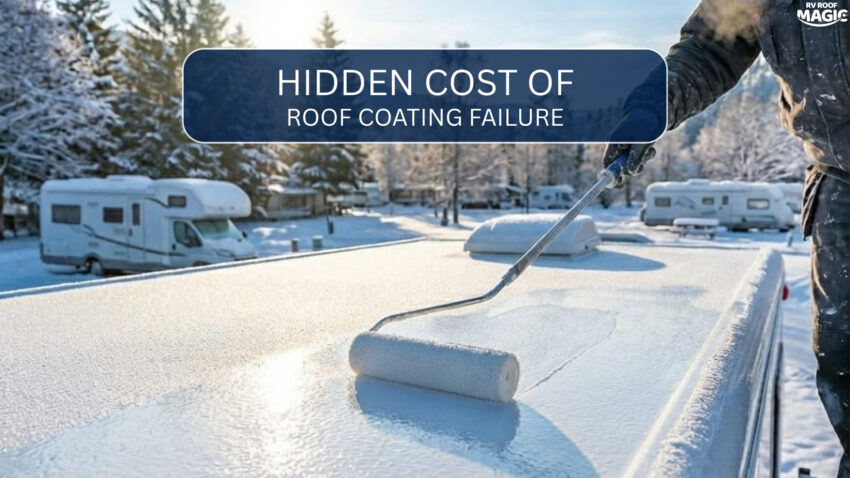
Mistake #3: Playing the Weather Gamble
You check the forecast: “Partly cloudy, chance of rain in the evening.” You figure that is enough time. Six hours later, a surprise shower hits, and your fresh, uncured coating washes into the gutter.
Temperature and moisture are everything. Many coatings have strict temperature windows—too cold, and they won’t cure; too hot, and they dry too fast, causing application issues. High humidity can also significantly extend drying times, leaving your rig vulnerable for longer than you planned.
This is where a solvent-based liquid roof product shines. Unlike water-based coatings that can freeze and crack, solvent-based formulas like RvRoofMagic are unique. While they generally need temps above 50°F to dry, if the temperature drops to freezing overnight, the solvent goes “dormant” and continues curing once the sun comes up. However, ignoring these parameters with standard products will result in a ruined finish that offers zero protection.
The Hidden Cost: Ruined material washed away by rain or compromised by freezing temperatures, requiring a full re-purchase.
Mistake #4: The “More is Better” Fallacy (Thickness Errors)
There is a precise “Goldilocks zone” for applying roof coating. Some owners think, “If one gallon is good, three gallons must be bulletproof!” This logic is dangerously wrong.
Applying a coating that is too thick causes wrinkling and traps solvents, leading to soft spots that never fully cure. Instead of a smooth, seamless membrane, you end up with a textured mess that holds water and attracts dirt. Conversely, stretching a gallon too far means you aren’t getting the UV and impact protection you paid for, leaving your original roof vulnerable to the elements.
Most quality coatings are designed for specific coverage rates—typically around 50 square feet per gallon. A pro tip is to chalk off your roof into 5×10 sections and use one gallon per section. This keeps you honest about coverage and prevents the wrinkling that comes with over-application.
The Hidden Cost: The expense of touch-ups or stripping sections that didn’t cure properly, plus the risk of premature failure in thin spots.
Mistake #5: The Cycle of Constant Reapplication
Perhaps the most insidious cost is buying a “cheap” product that requires reapplication every few years. Traditional acrylics often chalk and degrade quickly under harsh UV exposure. If you plan to keep your RV for a decade, and you have to recoat it three or four times, you haven’t saved any money—you’ve significantly multiplied your labor and material costs.
This “maintenance treadmill” is why many owners eventually give up and pay for a full replacement of the rv rubber roof. But you can break this cycle by choosing a product designed for longevity. A one-time application of a high-quality product might cost more upfront than a bucket of cheap acrylic, but it pays for itself by eliminating the need for future recoats.
The Hidden Cost: The cumulative expense of buying materials repeatedly over the years, not to mention the weekends lost to labor that could have been spent camping.
The Solution: One Coat, No Primer, Zero Headaches
You don’t have to fall victim to these hidden costs. The solution is to use a product that eliminates the variables that cause failure. RvRoofMagic was developed to address these exact frustrations.
- Universal Compatibility: It bonds to EPDM, fiberglass, metal, Alpha rubber, and TPO without a primer.
- Unique Chemistry: Its proprietary solvent allows it to cross-link with your existing roof, essentially welding itself to the surface to become one single membrane.
- Forgiving Application: It has a built-in fungicide, is UV and ozone-resistant, and doesn’t require mixing multiple components.
- Longevity: It doesn’t chalk like other coatings and retains its flexibility (elongation) to move with your RV as it travels down the road.
Why risk a full roof replacement or constant repairs? By avoiding these five mistakes and choosing a professional-grade solution, you can apply it once and get back to what matters most—enjoying the open road.
Don’t let a simple maintenance error turn into a financial burden. Do it right the first time.