
Look, I get it. You’ve spent hours researching how to fix your RV roof, and you’re probably drowning in conflicting advice. Some folks swear by one product, others claim you need three coats, and someone on a forum told you that you absolutely must use a primer. Meanwhile, your wallet is getting lighter, and your roof still isn’t protected the way it should be.
Here’s the truth most people don’t tell you: most roof coating failures aren’t because the coating itself is bad—they happen because of avoidable mistakes during the application process. After working with thousands of RV owners over 25+ years, we’ve seen these same errors repeated time and again, costing people hundreds or even thousands of dollars in wasted materials and repairs.
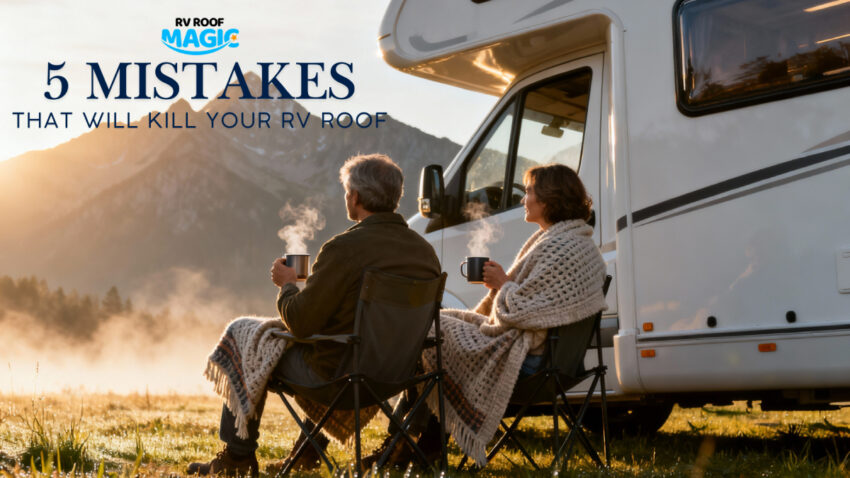
Let’s talk about the five critical mistakes that are probably costing you more than you realize.
Mistake #1: Choosing the Wrong Coating for Your RV Roof Material
This is where things get tricky. Walk into any RV supply store, and you’ll find shelves packed with different coatings—acrylics, elastomerics, silicones, you name it. The problem? Not every coating works on every rv roof material.
Most RV owners don’t realize that using an incompatible coating is like trying to glue metal to glass—it might stick temporarily, but it won’t last. Your rv roof material could be EPDM, TPO, fiberglass, metal, or even a previously coated surface. Each type has different properties, and applying the wrong product means you’re essentially throwing money down the drain.
Water-based elastomerics, for instance, might work okay on some surfaces but fail miserably on others. They tend to chalk over time, so the pristine white coating you applied turns into a dusty mess that needs constant attention. And here’s the kicker—many traditional coatings require primers, which means you’re buying two products instead of one. That’s double the expense, double the work, and double the chance that something goes wrong.
The solution? Use a coating specifically formulated to work across multiple roof types without requiring compatibility guesswork. That way, whether you’ve got EPDM, previously coated surfaces, or fiberglass, you’re covered with one product that actually bonds properly to what’s underneath.
Mistake #2: Skipping Proper Roof Preparation
I’ve heard it a hundred times: “Can’t I just slap the coating on and call it a day? No. Just no.
Think about painting a dirty wall—the paint might go on, but it’s going to peel off before you know it. Your RV roof is no different. After years of traveling through rain, sun, dirt roads, and tree sap, your roof isn’t exactly clean. Oil, grease, mildew, and oxidized material create a barrier between your coating and the actual roof surface.
What happens when you skip proper cleaning? The coating might look great for a few weeks, but eventually, it starts bubbling, peeling, or failing to waterproof properly. That’s moisture getting under the coating because it never truly adhered in the first place. Now you’ve got blistering, potential water damage, and the headache of having to redo everything.
Proper preparation means thoroughly removing all contaminants—not just a quick rinse with a garden hose. You need something that actually emulsifies oil and grease, kills mold spores, and gives your coating a clean slate to bond with. A specialized cleaner, field-tested for compatibility with your coating system, prevents application failures and significantly extends your roof’s service life.
Mistake #3: Applying Coating in the Wrong Weather Conditions
Here’s where people really shoot themselves in the foot. They check the weather forecast, see it says “partly cloudy,” and think that’s good enough. Then six hours later, rain clouds roll in, and suddenly their fresh coating is ruined.
Temperature and moisture are everything when it comes to coating application. If the substrate isn’t completely dry, or if rain hits before the coating has properly cured, you’ll see blistering and poor adhesion. Many coatings also require specific temperature ranges—too cold, and they won’t heal properly; too hot, and they dry too fast, causing application issues.
Even humidity plays a role. High humidity can dramatically extend drying times, so if you applied a coating thinking it would be ready in 4 hours, you might actually need to wait 12-24 hours before it’s truly protected. During that window, your RV is vulnerable.
The smart approach? Plan for temperature windows that give your coating the best chance to cure properly. Look for rv roofing solutions that can handle a broader range of application temperatures and that waterproof quickly—ideally within 3 hours under proper conditions. That significantly shrinks your window of vulnerability.
Mistake #4: Applying Coating Too Thick (Or Too Thin)
This one sneaks up on people. You’d think more coating equals better protection. Wrong.
Applying a coating that is too thick causes wrinkling and extended cure times. Instead of creating a smooth, seamless membrane, you end up with a wrinkled mess that doesn’t perform as intended. The solvent can’t evaporate properly, which leads to soft spots and areas that never fully cure.
On the flip side, applying a coating that is too thin means you’re not getting the coverage you paid for. You might think you’re stretching your dollars, but really, you’re just setting yourself up for premature failure and needing to recoat sooner than necessary.
The key is proper coverage rates. Most quality coatings have specific square-footage-per-gallon recommendations—typically around 50 square feet per gallon for adequate protection. Following those guidelines isn’t just a suggestion; it’s the difference between a coating that lasts 15-18 years and one that fails in 4-5.
Here’s a pro tip: chalk off your roof into manageable sections (like 5×10 areas) and use one gallon per section. This method keeps you honest about coverage and ensures you’re applying enough product without overdoing it.
Mistake #5: Using Products That Require Constant Reapplication
This is the mistake that costs you the most money over time. You buy a coating, apply it, and two years later, you’re back on the roof doing it all over again. Sound familiar?
Many traditional acrylics and elastomers need reapplication every 4-5 years. That means over 20 years, you’re coating your roof 4-5 times. Four times the materials. Four times the labor. Four times the frustration.
What really hurts is when you calculate the actual cost. Let’s say a coating job costs $500 in materials and supplies. If you’re doing it every five years, that’s $2,000 over 20 years—not counting your time and effort. Compare that to a single application of a superior product that lasts 15-18 years, and suddenly that upfront investment makes a lot more sense.
The best RV roof reseal solution is one you apply once and forget about for decades. Look for coatings with proven long-term durability, backed by real customer testimonials spanning years, not months. A 10-year warranty isn’t just marketing—it’s confidence that the product actually delivers.
The Real Cost of These Mistakes
Let’s add it all up. Between incompatible coatings that peel off ($400-500 wasted), improper surface prep leading to recoating ($500 more), weather-related failures ($300-400), incorrect application thickness requiring touch-ups ($200-300), and products that need reapplication every few years ($2,000+ over time), you could easily waste $3,000-4,000 on your RV roof over its lifetime.
That’s not counting the potential water damage from coating failures, which can run into the thousands if moisture gets into your RV’s structure. Or the resale value hit your RV takes if potential buyers see a poorly maintained or damaged roof.
The Smarter Approach
After 25+ years in the RV coating industry, we’ve learned what actually works. The rv roofing solutions that stand the test of time share a few common traits:
- They work across multiple rv roof material types without requiring compatibility charts.
- They don’t need primers, which cuts both cost and complexity.
- They feature specialized chemistry that creates a chemical cross-link with the surface, not just a physical coating.
- They waterproof quickly (within 3 hours) to minimize vulnerability.
- They maintain their color and integrity for 15-18 years, not 4-5
- Real warranties and decades of proven performance back them.
When you’re ready for an rv roof reseal, don’t just grab whatever’s cheapest at the RV store. Consider the total cost over time, compatibility with your specific roof, ease of application, and, most importantly, the actual longevity you’ll get.
Your RV roof is literally the shield between you and the elements. Protecting it correctly the first time isn’t an expense—it’s an investment that pays dividends for decades to come.
Want to learn more about choosing the right coating for your RV? Check out our detailed comparison guide or explore our application process to see how easy proper coating can be.