
Owning an RV offers an unparalleled sense of freedom, but that freedom comes with the responsibility of maintenance. Perhaps the most critical component of your vehicle is the roof. Whether you are a weekend warrior or a full-time traveler, understanding how to prevent leaks is the difference between a long-lasting investment and a costly nightmare.
Water damage is often the silent killer of recreational vehicles. By the time you spot a drip inside your cabin, the damage to your substrate, insulation, and electrical systems may already be extensive. This guide provides a comprehensive DIY approach to preventing costly RV Roof Leaks and maintaining your roof using rv roof magic.
The High Cost of Neglect
Traditional RV roofs, whether EPDM, TPO, or fiberglass, are constantly exposed to UV radiation, ozone degradation, and extreme temperature fluctuations. Over time, these elements cause the roof to dry out, crack, and chalk. Standard acrylic or elastomeric coatings often fail within 4–5 years because they lack the chemical bond needed to withstand ponding water or the vibrations of moving vehicles.
By taking a proactive approach, you can avoid a full roof replacement and instead opt for a high-quality trailer roof repair that extends your roof’s life by 18 to 20 years.
Identifying Vulnerable Areas
Before you begin any application, you must inspect your roof. Leaks rarely start in the middle of a solid panel; they almost always begin at the seams, around skylights, AC units, and vents.
Check Your Seals
Over time, factory sealants can dry out and peel away. If you notice gaps or “alligatoring” (small cracks resembling reptilian skin), it is time for a refresh. For localized issues, rv sealant and caulking products, such as Butyl MS Caulk, are essential for creating a watertight barrier around protrusions.
Inspect for Ponding Water
Does water sit on your roof long after a rainstorm? Most coatings are not designed to handle standing water, which eventually seeps through the membrane. RV Roof Magic is unique because its chemical drying process enables it to withstand ponding water 365 days a year without degrading.
The DIY Step-by-Step Restoration Process
One of the biggest advantages of using RV Roof Magic is its simplicity. It is a one-coat system that requires no primer on the vast majority of surfaces, including EPDM, Alpha rubber, fiberglass, weathered aluminum, and even roofs previously coated with non-silicone products like Dicor or Kool Seal.
1. Surface Preparation
The secret to a 20-year roof is a clean surface. Start by using a specialized cleaner, such as roof protect cleaner. You must remove all dirt, oil, and loose debris. Unlike other systems that require intensive scrubbing and multiple primer layers, RV Roof Magic bonds to a clean, dry surface.
2. Addressing the Seams
Before applying the main coating, treat your seams. If you have significant gaps, use Seam Tight or Poly Fabric to reinforce these high-stress areas. This ensures that the most vulnerable parts of your mobile home roof leak repair are reinforced with the same high-strength chemistry as the rest of the roof.
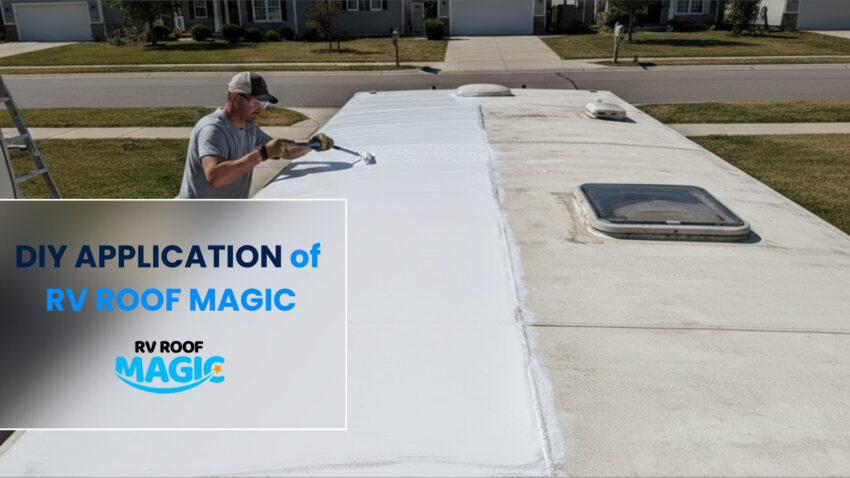
3. Application
Once the roof is clean and the seams are prepped, it’s time to apply the coating. You can use a brush or a roller. Because it is a one-coat system, you save significant time and labor.
Pro Tip: RV Roof Magic can be applied in temperatures where other coatings would fail. Its 30-year history of success is built on its ability to flex with the vehicle and resist the “chalking” that plagues cheaper alternatives.
Why Choose RV Roof Magic Over Traditional Coatings?
When searching for trailer roof repair solutions, you will see many acrylic-based products at big-box stores. However, there are three main reasons why professional-grade liquid rubber is superior:
- Longevity: While traditional coatings last 4–5 years, RV Roof Magic adds nearly two decades of life to your roof.
- Compatibility: It works on EPDM, TPO (with primer if scrim is showing), Metal, and Fiberglass. Note: It cannot be applied to PVC or silicone.
- The Warranty: It is the only one-coat system in the industry offering a 20-year warranty.
Maintaining Your Results
After you’ve applied your new coating, your maintenance doesn’t end; it simply becomes much easier. A simple annual wash with a mild cleaner will keep the white surface reflective, helping lower your RV’s interior temperature during the summer months.
If you have skylights, don’t forget to protect them too. Products like Skylight 911 provide a clear protective layer that prevents the yellowing and cracking caused by age oxidation.
Conclusion
Preventing RV roof leaks doesn’t have to be a complicated, multi-day ordeal involving various primers and multiple coats of paint. By choosing a product designed specifically for the rigors of the road, you can secure your vehicle’s future in a single afternoon.
Whether you are dealing with a persistent mobile home roof leak or want to ensure your new trailer stays in pristine condition, a high-quality rv sealant and caulking routine, followed by a full coat of RV Roof Magic, is the most cost-effective DIY project you can undertake.
Don’t wait for the first drip to fall. Take control of your maintenance today and enjoy the peace of mind that comes with a truly waterproof roof. Ready to get started? Check out our Estimate Calculator for RV to find exactly how much product you need for your project!