
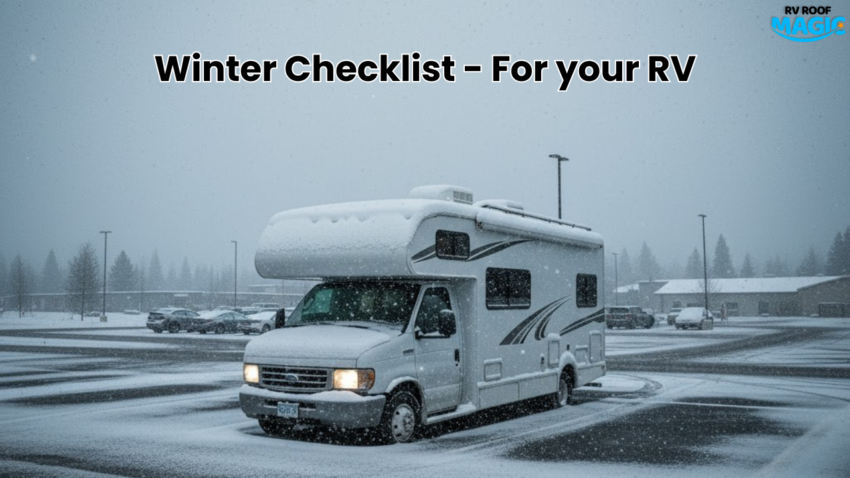
When the temps drop and snow looms, your RV roof becomes a frontline defense. But if you’ve been postponing maintenance, that defense can fail—and fast. In this post, we’ll explain why sealing your RV roof now (before winter hits) is not optional, it’s essential. We’ll also guide you through key steps and show how RV Roof Magic offers a premium solution you can trust.
1. The Winter Threats That Attack an Unprotected Roof
Winter subjects your RV roof to a punishing cycle of stressors. Here are the most dangerous ones:
- Freeze-thaw cycles: Water seeps into tiny cracks, then freezes. Ice expands, widening the cracks. Repeated cycles lead to splits or delamination.
- Snow and ice loads: Accumulated snow and ice press down on seams, penetrations, and weak spots.
- Ice dams and meltwater pooling: Melting snow often refreezes around edges, forcing water under seams and flashing.
- Thermal contraction: Cold temperatures contract materials, stressing bonds, seals, and coatings.
- Wind-driven sleet and abrasion: Harsh winter weather can abrade coatings and exploit weak spots.
If your roof already has vulnerabilities, winter magnifies them. The best defense is to seal now, before the freeze.
2. Why You Can’t Wait: The Cost of Delay
Delaying roof sealing is a gamble:
- Hidden leaks expand: A small seam gap or pinhole may not drip now, but winter pressure widens it, leading to interior water damage.
- Interior damage is expensive: Once moisture gets in, it can ruin insulation, cabinetry, wiring, and electronics.
- Repair windows narrow: Once ice and snow arrive, working on the roof becomes hazardous or impossible until thaw.
- Warranty or promotions may expire: Some roof coatings require application before a date or seasonal window.
- Peace of mind matters: Driving into winter with an unprotected roof means constant worry about leaks mid-trip in freezing conditions.
In short: the risk of waiting outweighs the effort now.
3. What to Check Before You Seal: Your Winter Roof Audit
Before applying rv roof sealant, do a thorough inspection:
- Seams, flashings, and edges: Look for lifted tape, separation, gaps around vents, AC units, skylights.
- Existing coating condition: Peeling, cracking, chalking — these are red flags.
- Soft spots: Press gently; any spongy areas may hide water damage beneath.
- Fasteners and penetrations: Check screws, bolts, and any plumbing or wiring entry points.
- Old patch jobs: Previous patching materials may not bond well, so note them for extra prep.
Mark these trouble spots. These are the areas that may need extra attention or a thicker coat.
4. Why RV Roof Magic Is the Smart Choice This Winter
Not all coatings are created equal. When it comes to protecting against winter damage, RV Roof Magic stands out — and here’s why:
- One-coat, no primer: RV Roof Magic is formulated so you don’t need a primer and you get full coverage in one coat.
- Broad substrate compatibility: It bonds directly to EPDM, metal, fiberglass, butyl rubber, TPO, and previously coated surfaces.
- Chemical cross-linking and adhesion: RV Roof Magic’s solvent-based formula chemically bonds to the roof substrate, creating a single, flexible, seamless membrane.
- UV, ozone, and weather resistance: It resists chalking, streaking, and degradation—even under extreme conditions.
- Real-world validation: Users report strong performance, with no leaks years after application.
Because winter stresses require a robust barrier, solutions like typical acrylics or cheap elastomerics may not be up to the task. RV Roof Magic gives you industrial-grade protection with simpler application.
5. How to Apply (Before Winter Sets In)
Here’s a step-by-step process tailored for pre-winter application:
- Clean thoroughly–
Use an rv roof cleaner and degreaser to strip dust, oxidation, oil, mildew, and previous loose coating. The roof must be spotless and fully dry. - Repair damage and patch weak zones–
Use appropriate caulks, butyl tapes, or patches to seal holes, fasteners, and penetrations. Ensure patch materials are compatible. - Mask adjacent surfaces–
Protect windows, sidewalls, vents, and trim from undesired splash. - Stir well–
Ensure any settled pigment or resin is properly re-dispersed. - Apply RV Roof Magic–
Use a quality roller or brush. One coat is typically sufficient. In high-stress zones (ribs, seams, edges), a slightly heavier coat is acceptable. - Allow proper cure–
It may become waterproof in a few hours, but full cure takes the specified time per manufacturer guidance. Avoid exposure to freezing or heavy moisture during cure time. - Inspect and reinforce–
Once cured, re-check seams and edges. Apply extra material where the coating appears thinner or lacking. - Optional recoating–
If you detect thin spots after testing, you may recoat those areas once fully cured (it’s designed to be re-coatable).
Timing is critical: apply on a dry, mild day before cold tightens its grip on your roof.
6. Winter Maintenance: What to Do After Sealing
Even after applying your rubber RV roof coating, stay vigilant through the winter:
- Remove snow carefully–
Use soft tools (like a broom or foam board). Avoid scraping or sharp objects that can damage the coating. - Watch for ponding–
After melts or refreezes, check that no water is stagnating in low spots. - Inspect after storms–
Strong wind or ice can- challenge marginal zones—inspect trim, flashings, and junctions. - Spot repair as needed–
For minor nicks or punctures, use compatible sealants for small touch-ups before damage spreads. - Plan for spring inspection–
After winter ends, assess the roof condition and determine if recoating or spot repairs are needed for the next cycle.
7. Addressing Objections & Realistic Expectations
- “Will a coating stop existing leaks?”
A roof sealant like this is meant to extend and protect, not fix major structural leaks. Any current leaks or damage must be repaired first before coating. - “Is one coat enough?”
Yes — for properly prepared surfaces, RV Roof Magic is designed as a one-coat solution. Only high-stress areas may benefit from extra build-up. - “Can I apply in cold weather?”
You should avoid applying when temperatures are near freezing or humidity is high. Aim for milder days before deep winter arrives. - “Does it really bond to older coatings?”
Yes — RV Roof Magic is formulated to bond with many existing coatings and surfaces, eliminating primer in most cases.
8. Conclusion
Winter won’t wait—and neither should you. Sealing your RV roof before the freeze arrives is one of the smartest, most cost-effective moves you can make as an owner.
By applying a premium liquid roof coating like RV Roof Magic now, you guard against leaks, interior damage, and costly repairs. Don’t risk waking up to water dripping inside in the middle of a snowstorm.
Act today: inspect your roof, prep carefully, and apply RV Roof Magic before the cold closes your window. Your RV (and peace of mind) will Thank-You.